A-Joint Assembly Methods
In a simple Plain Jane (PJ) cue, the forearm & handle are usually joined together by turning a tenon on one part and inserting it into a register bored into the other part. This is usually strengthened by the addition of a metal screw. Or, the tenon itself and the mating part can be threaded, thereby eliminating any metal in the joint.
----------

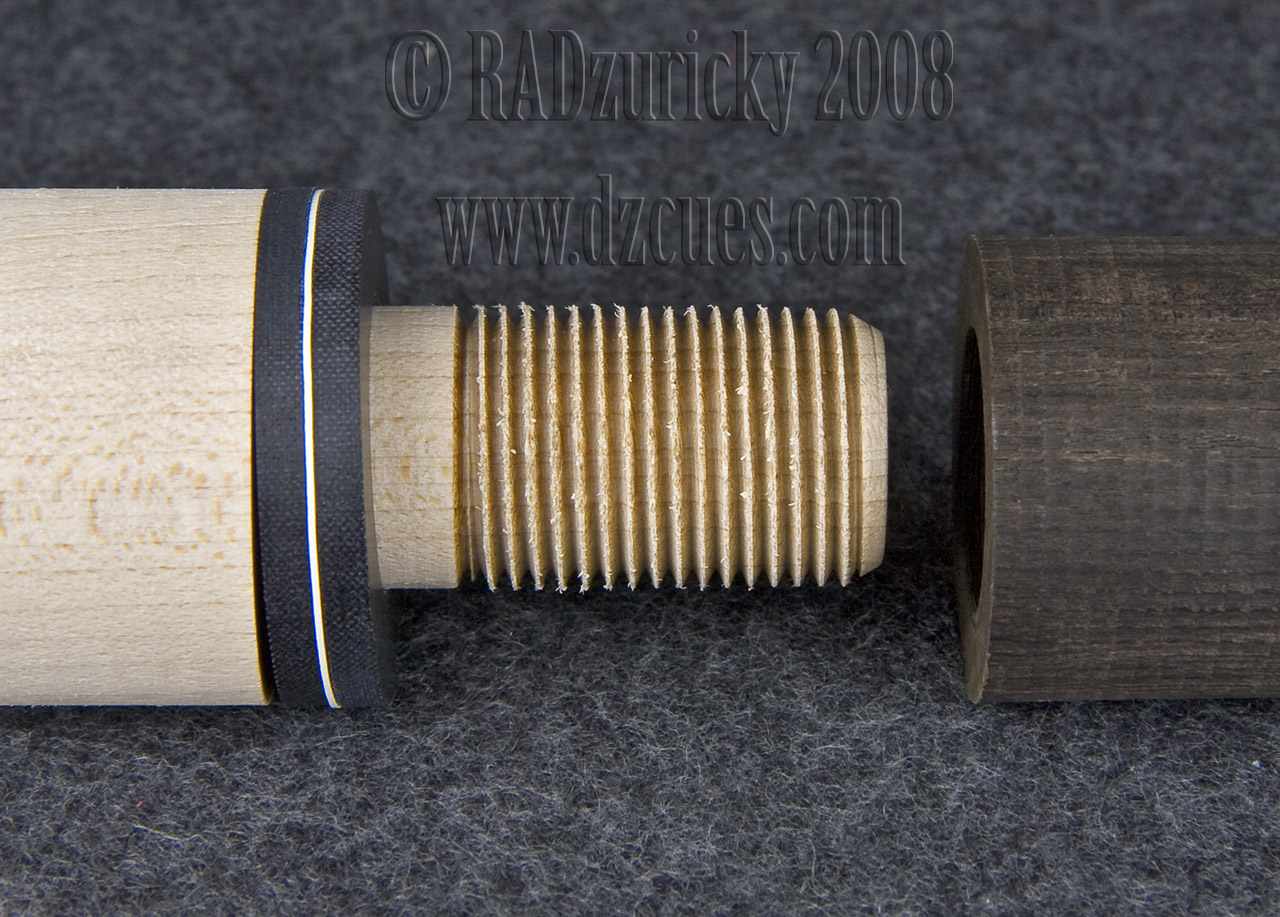
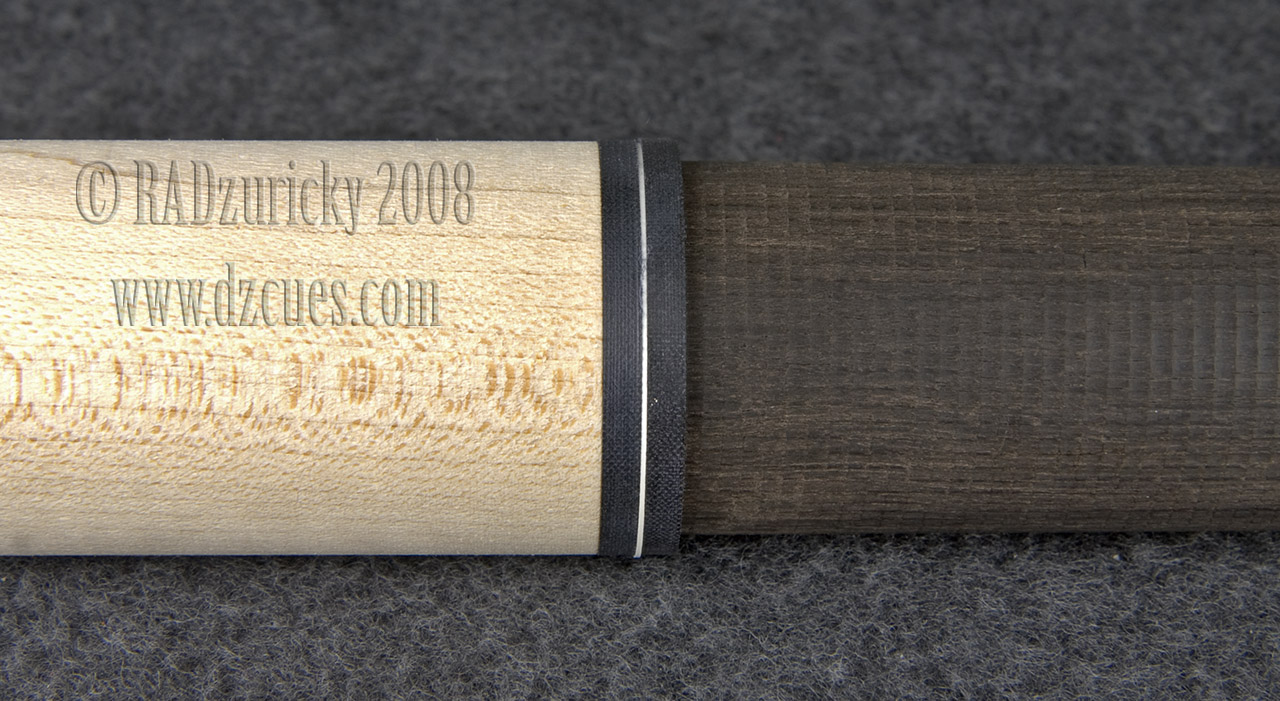
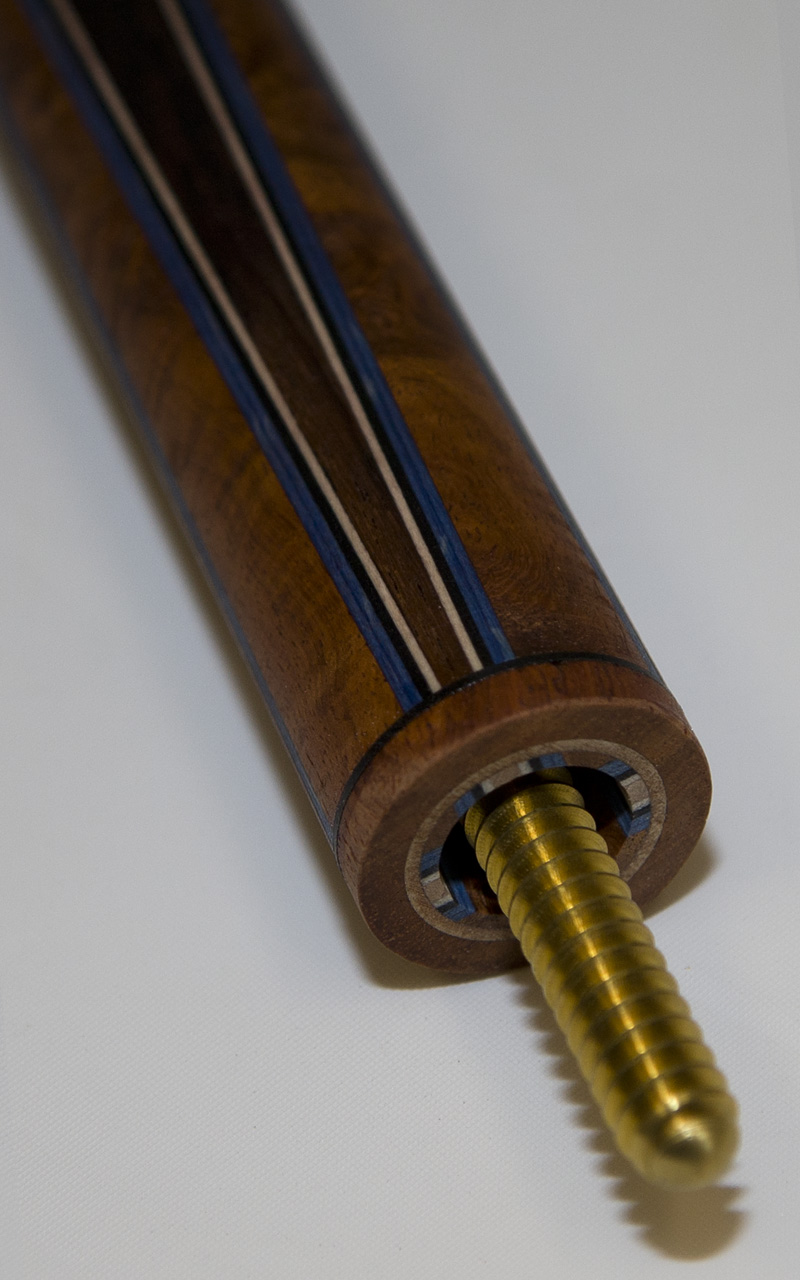
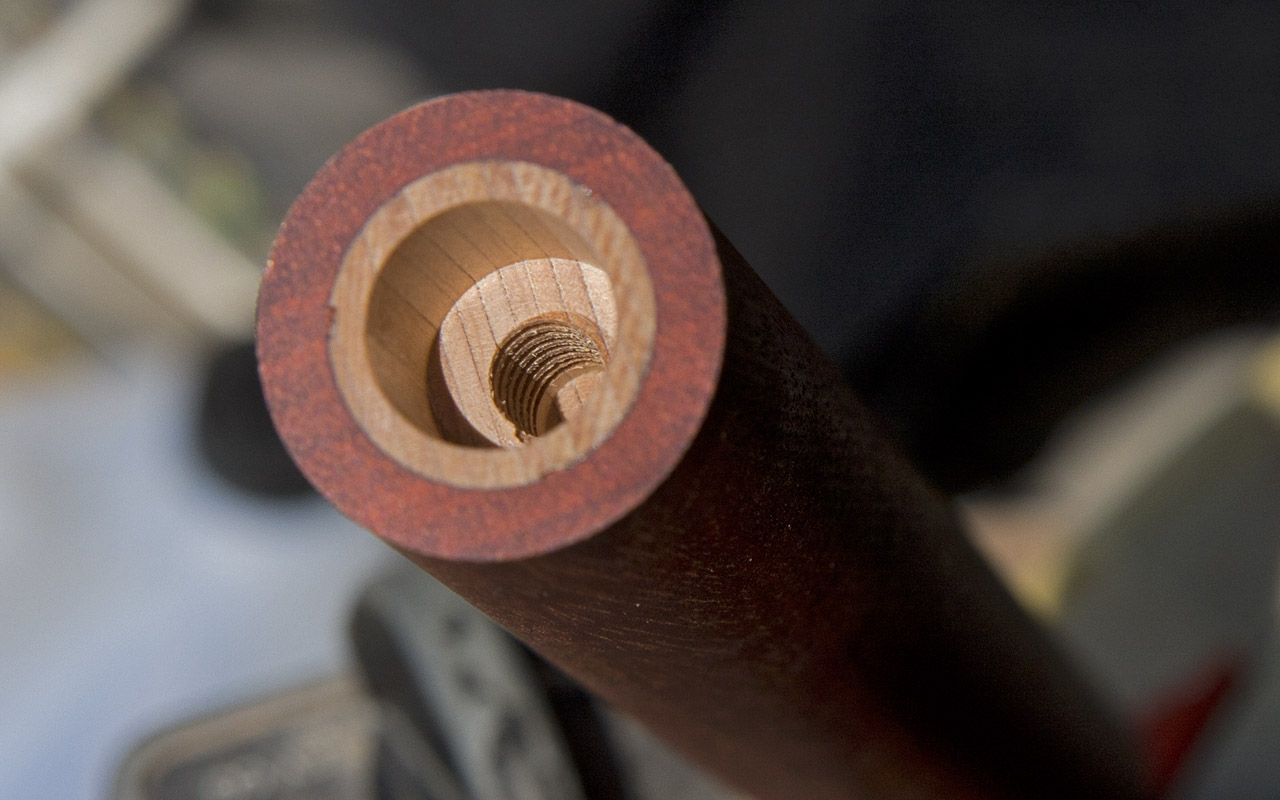
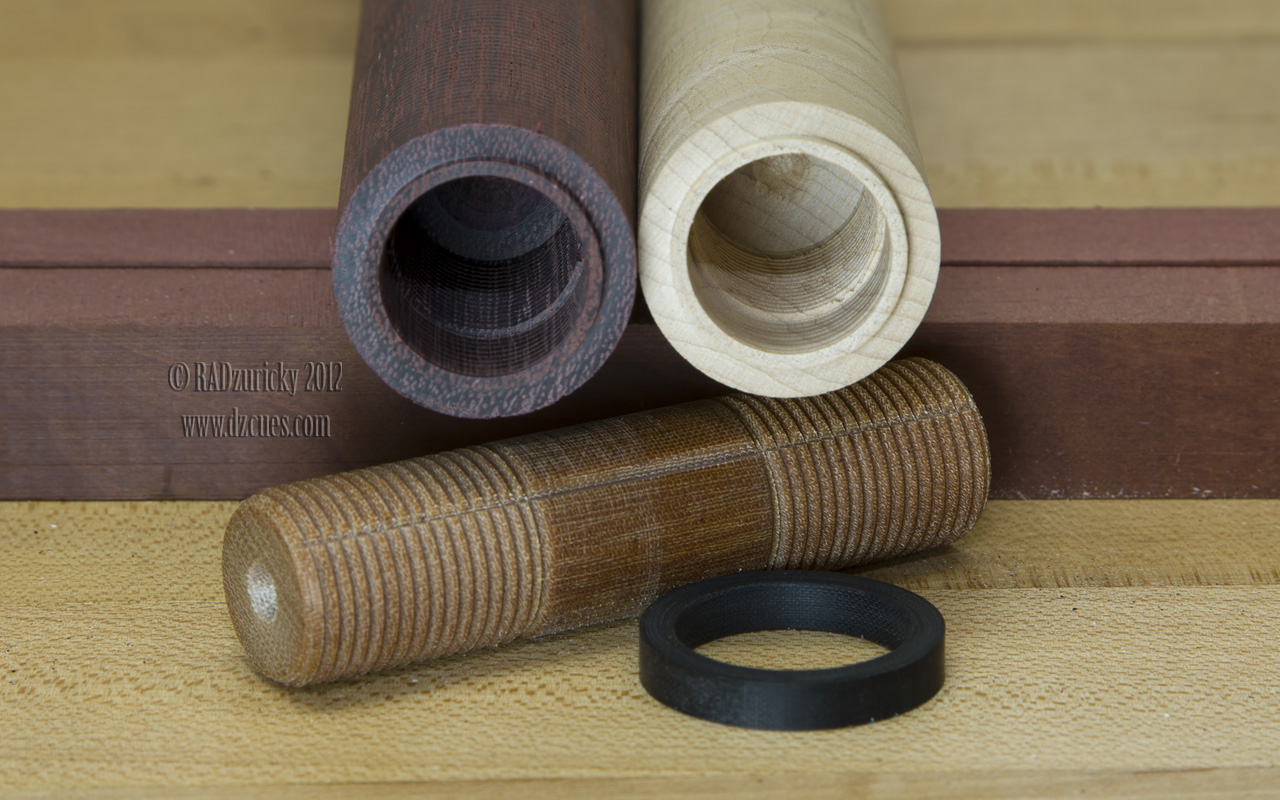
This is the most pure & simple A-Joint style you can build. The handle tenon is threaded into the ebony forearm. The tenon has a register diameter/shoulder to accurately locate the tenon in the forearm & maintain concentricity. And, there is enough room on the tenon to install some trim rings. The forearm is threaded internally to match.
----------
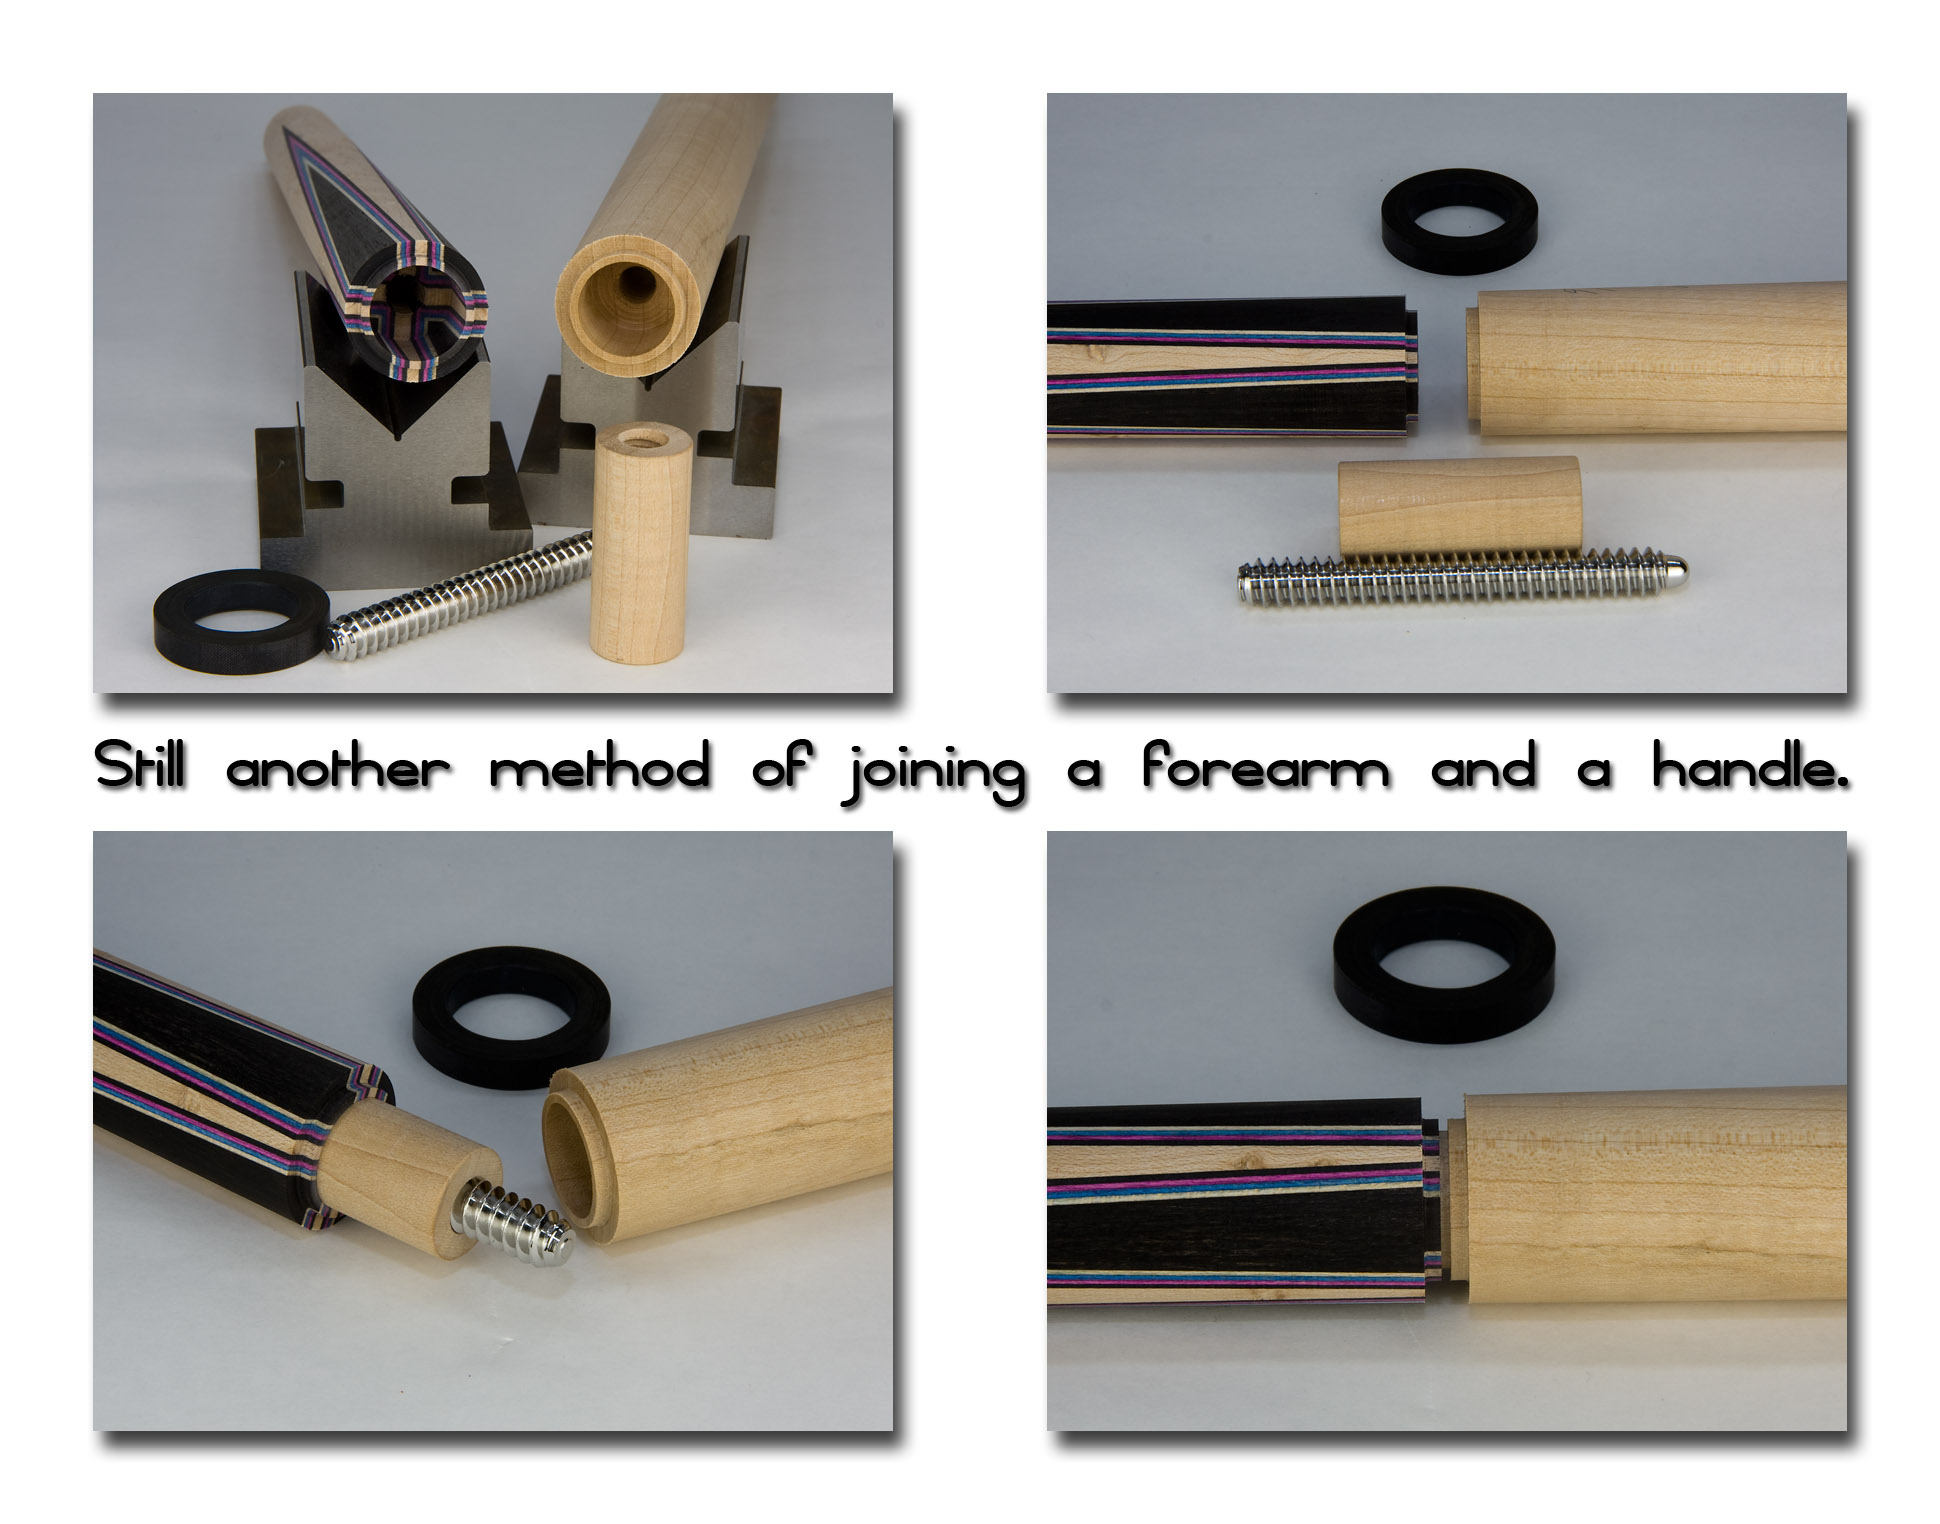
This works fine when you're building a PJ or a cue with floating CNC points but if I'm assembling a half splice forearm with V-grooved points, I like to tie things in a little better. Over the years I've used many different methods and have had good luck with all of them. One feature I try to employ at all times is a collar that slides over the base of the points to prevent the bottom of the forearm from splitting. It has never happened, even when I don't use a collar but it's something that always makes me nervous & if I can do something to make me feel better, I do it.
----------
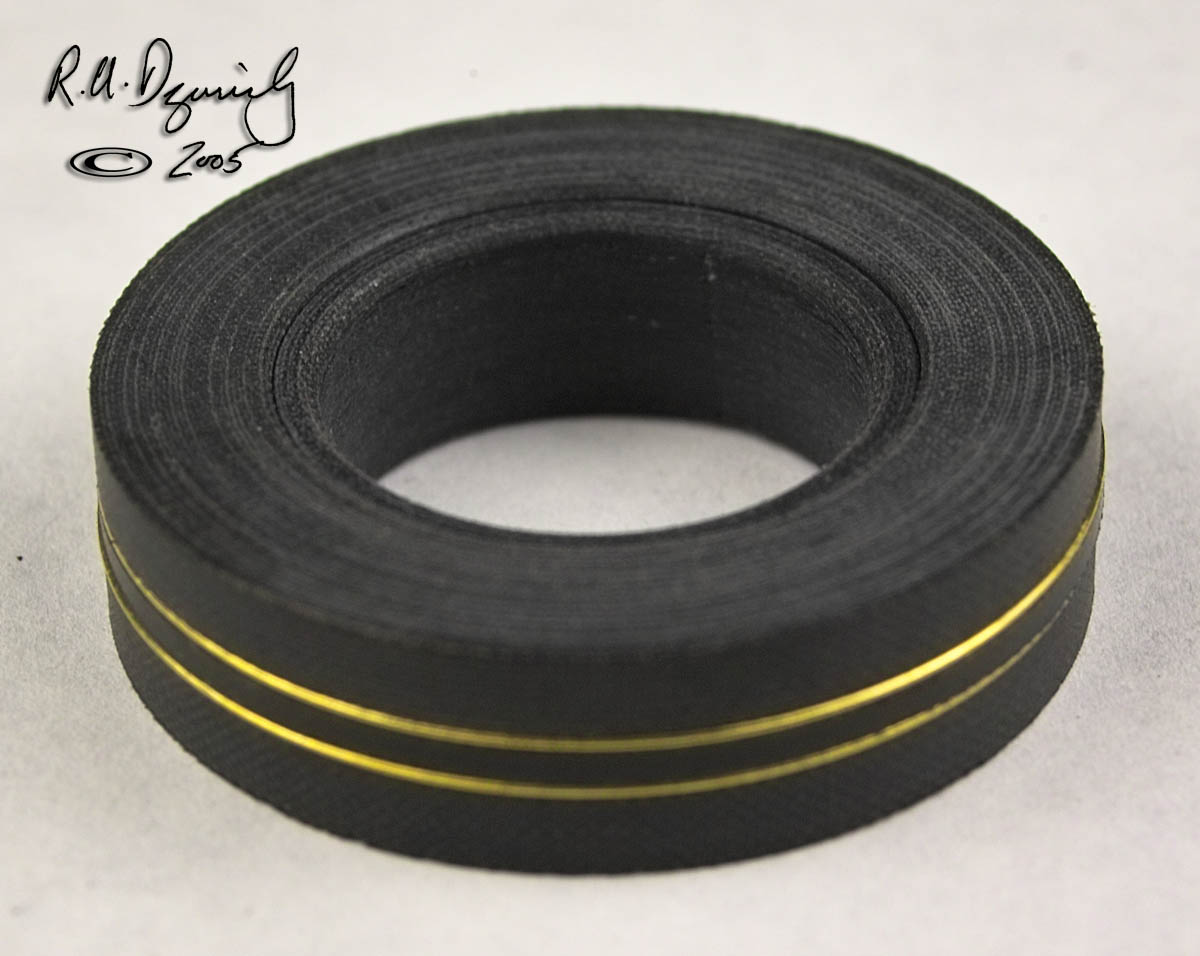
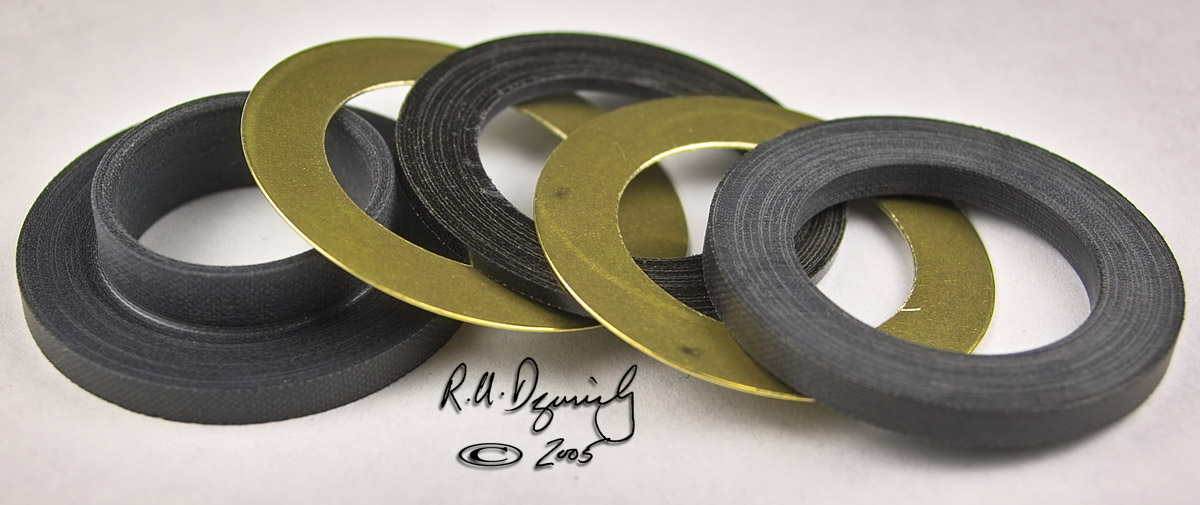
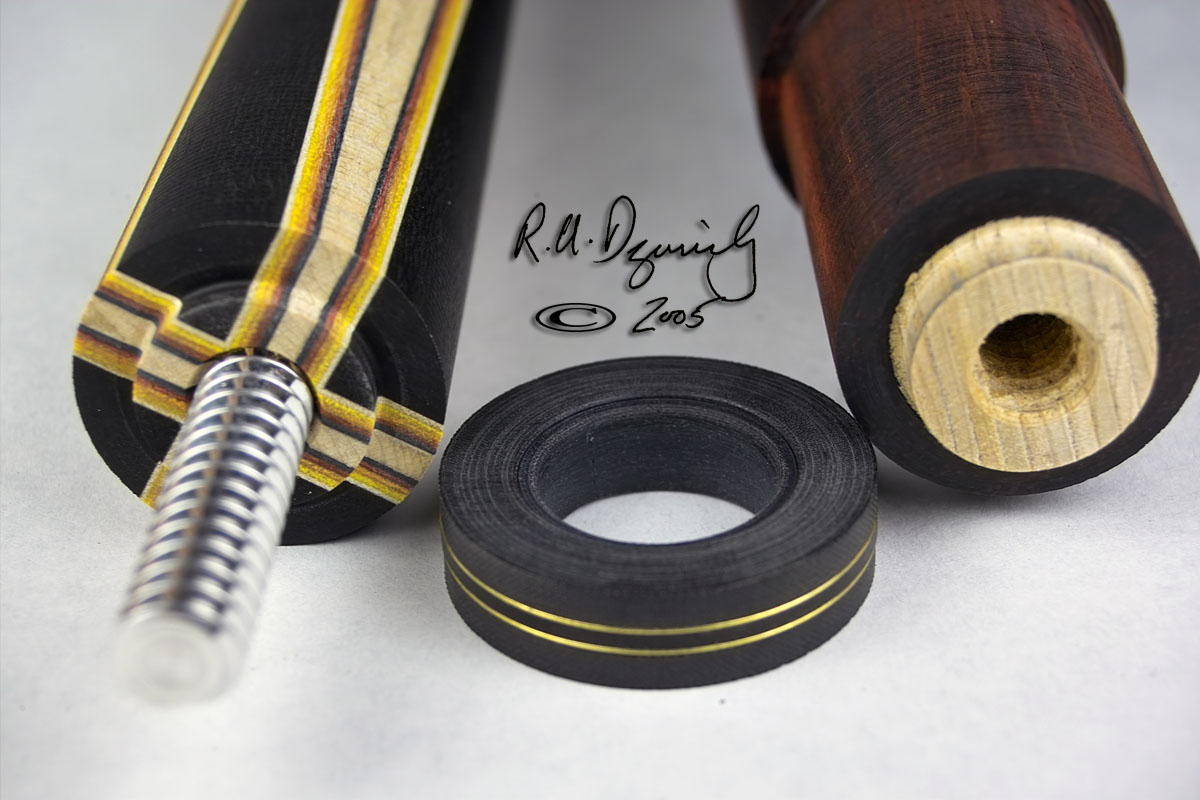
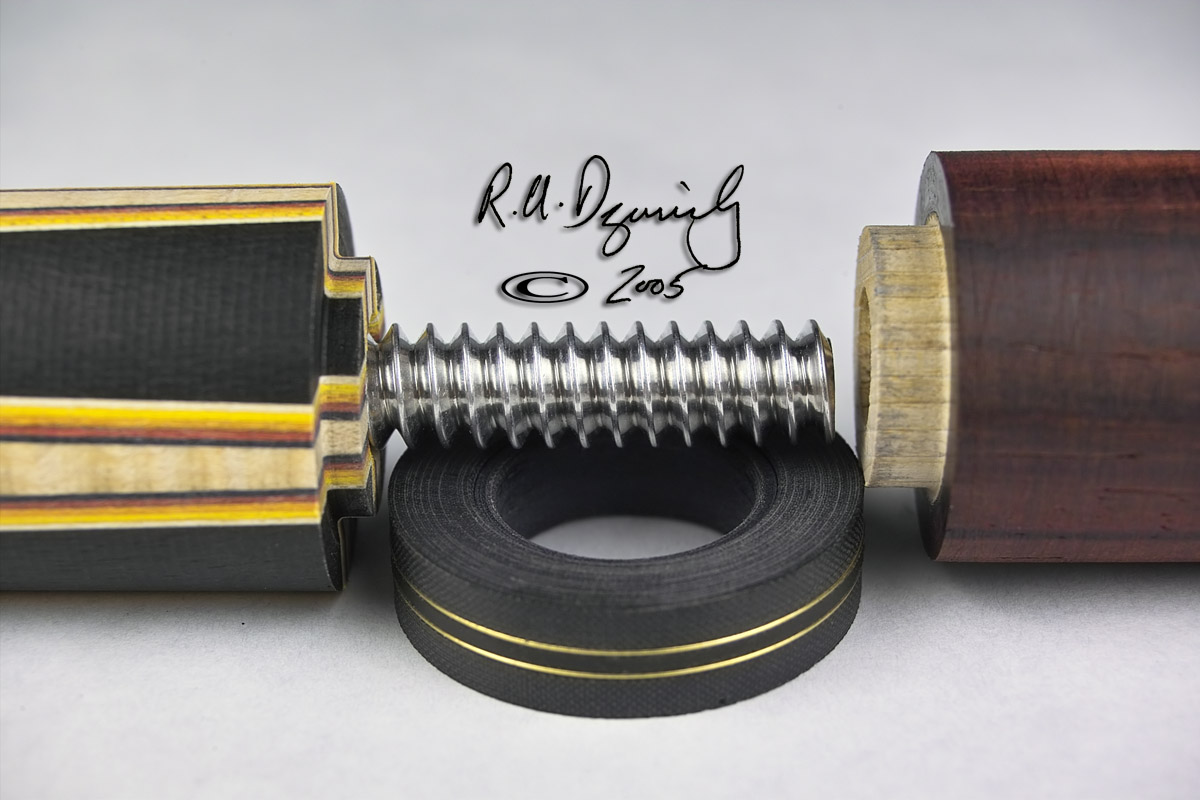
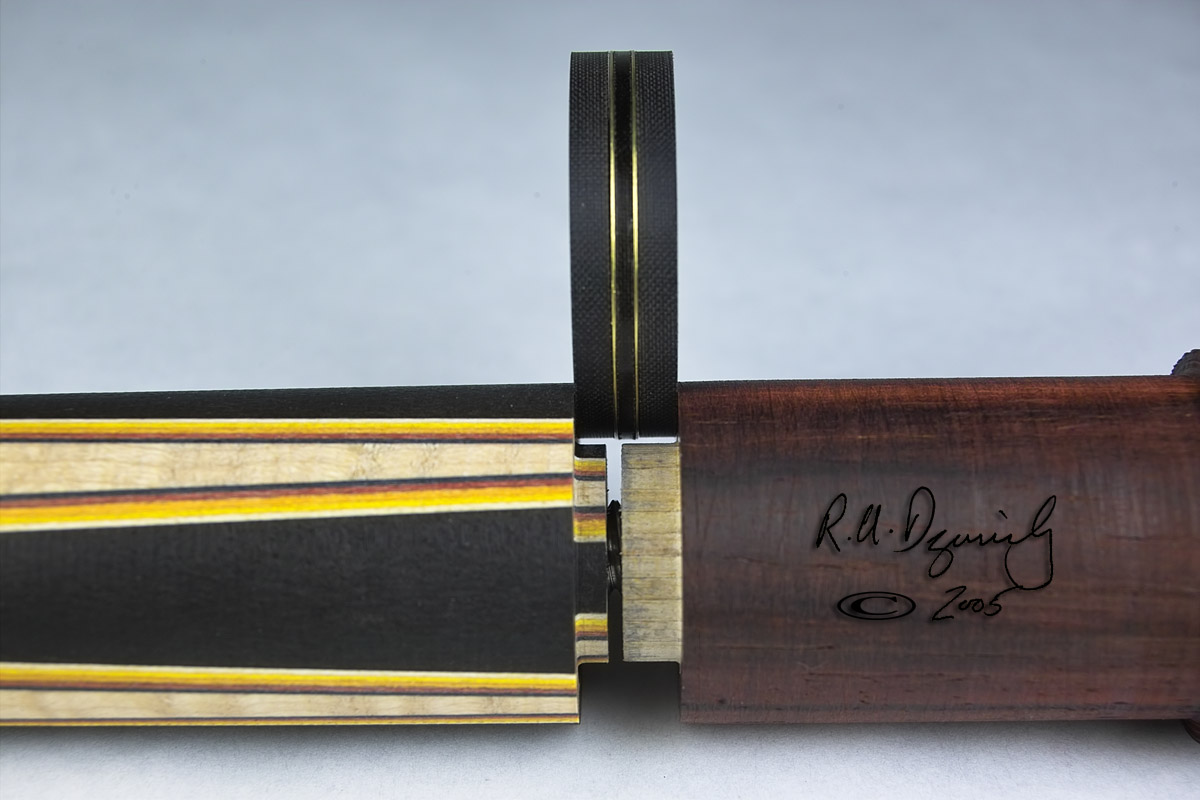
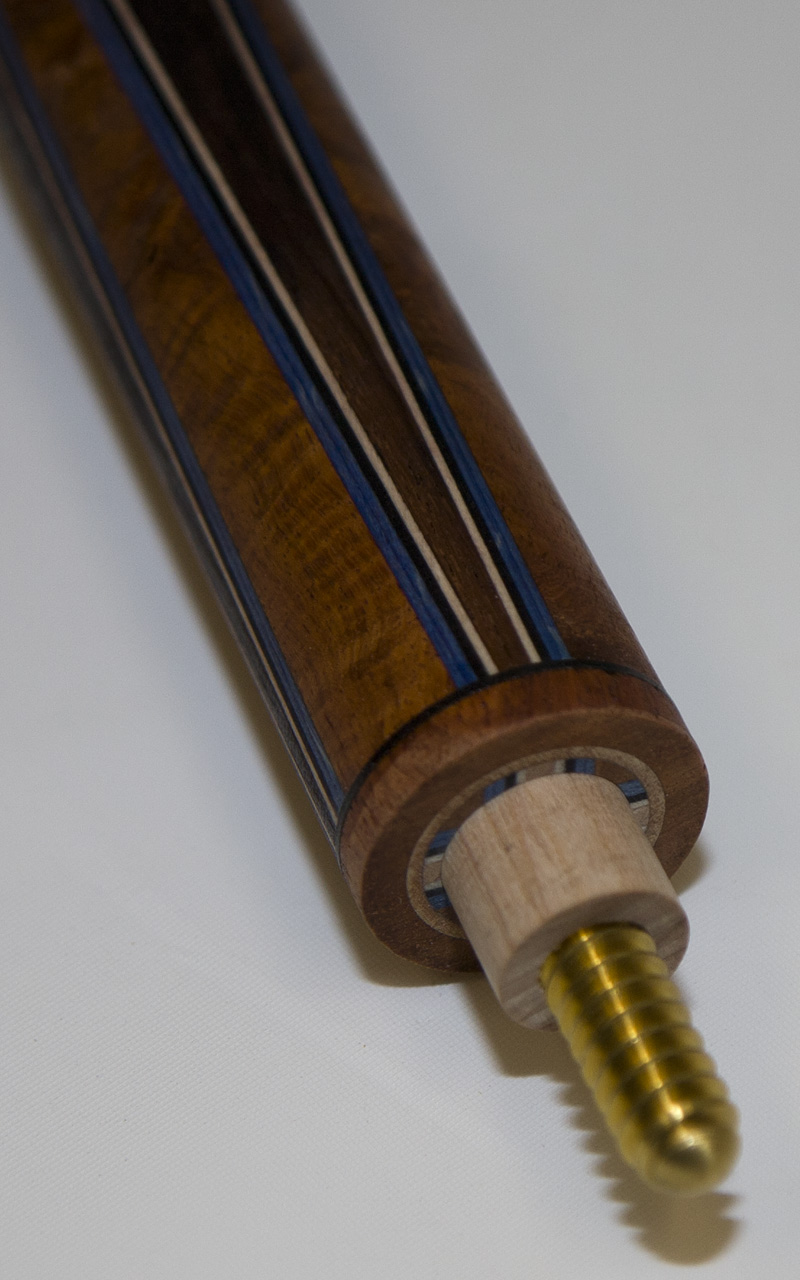
Here's a very common method using a simple buzz ring to maintain a gap between the faces of the forearm & handle. In this case, rather than stacking all the trim rings on a tenon, I make a "master" ring that has a register diameter on it. I bore the other trim rings out so they can slide onto the master, making the assembly more like a single ring rather than 5 individual pieces. Very solid & hits very well.
----------

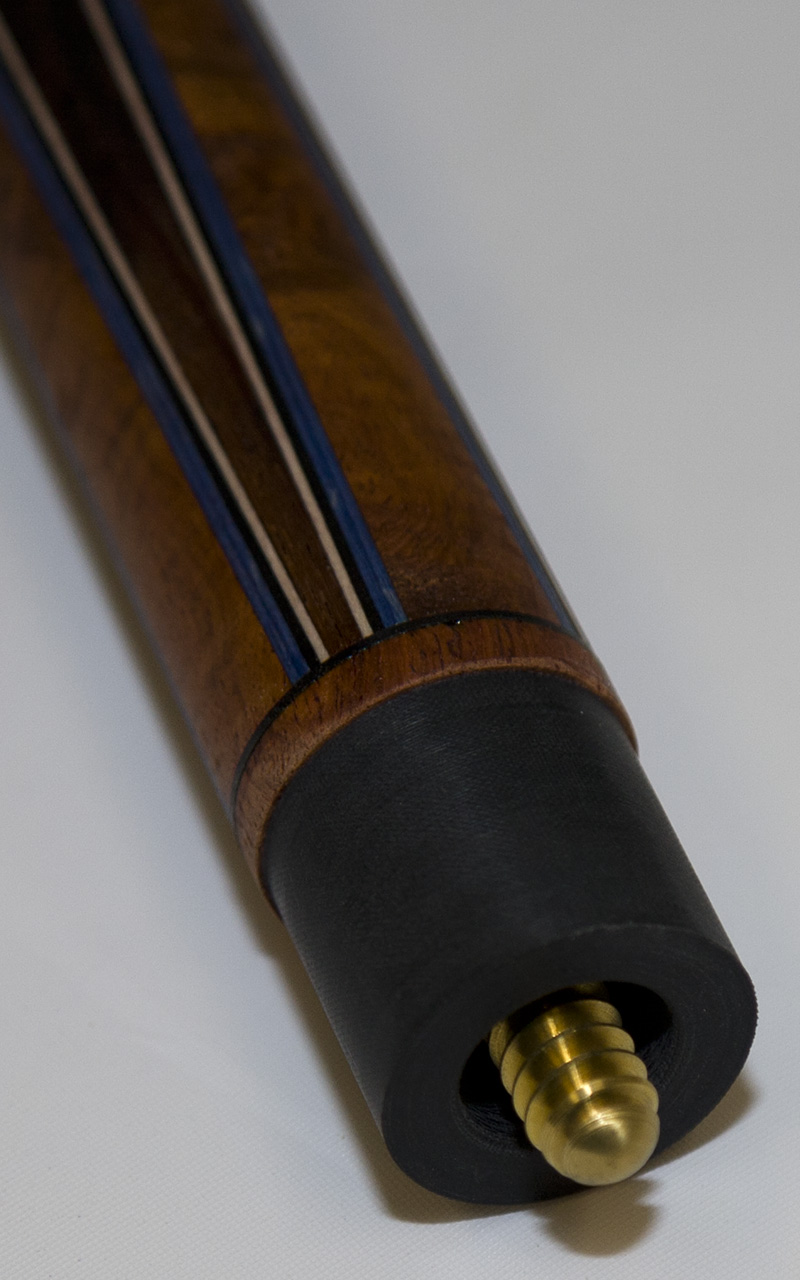
In this situation, a wrap will cover the phenolic sleeve so it can be longer for a little more support. My handle was too short to extend it into the forearm so I made a tenon to fit both. The brass screw was chosen over aluminum to help reach the target weight & balance.
----------
This is very similar to the above scenario but I used different sizes & lengths to see if it made any difference.
----------
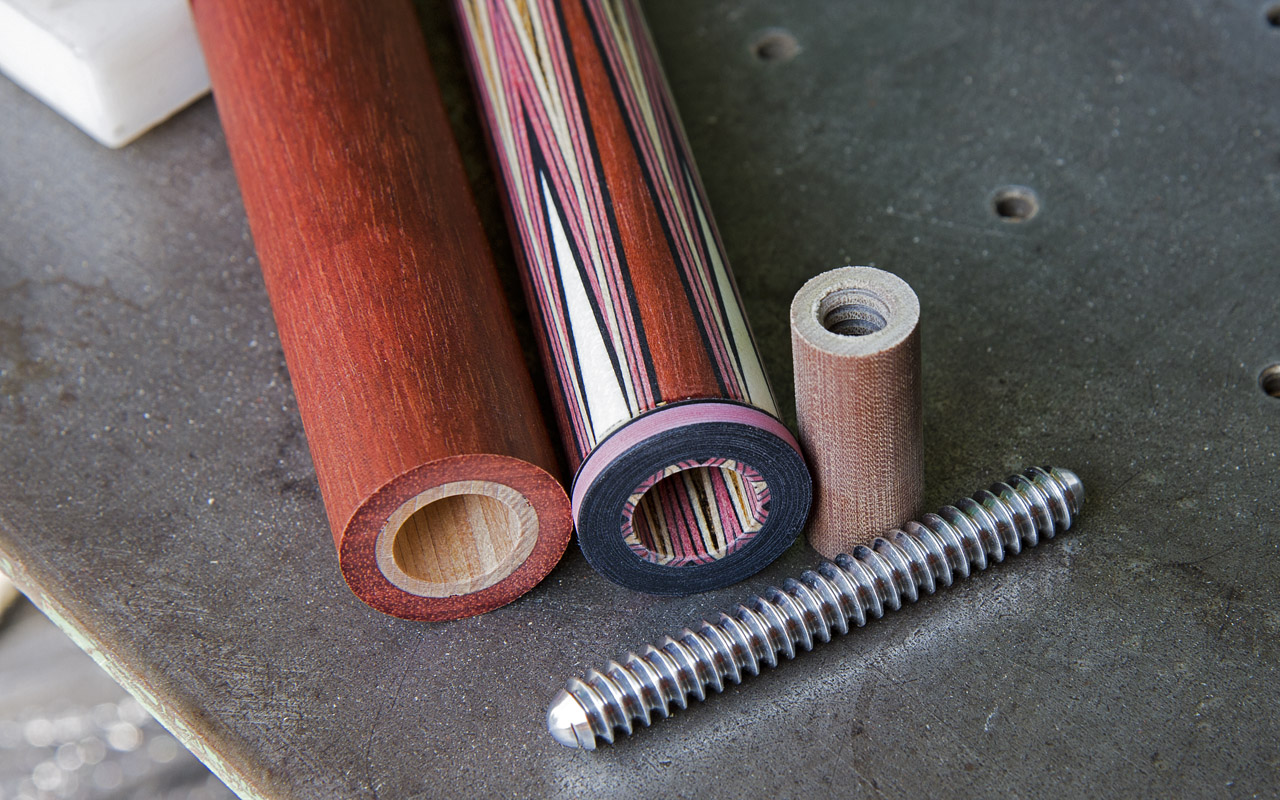
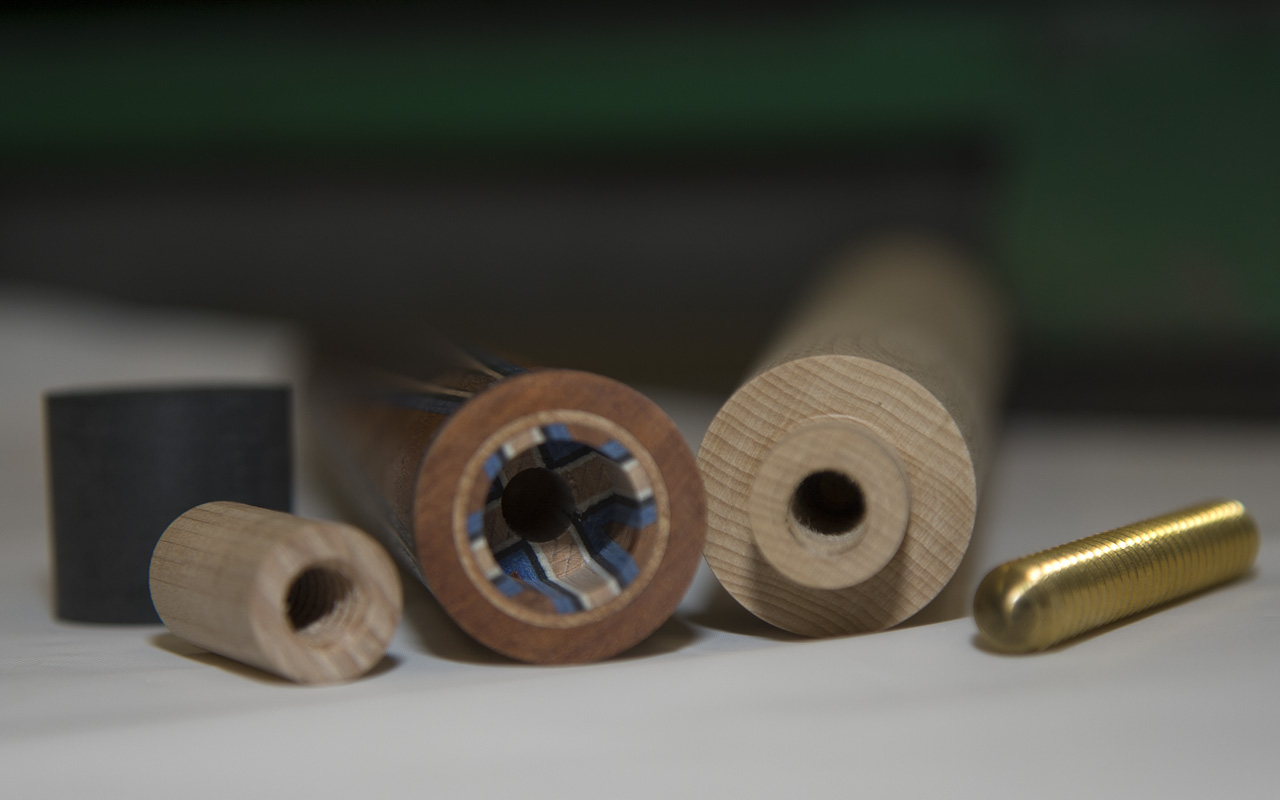
Yet another variation using a phenolic sleeve to protect the 4 short & 4 long points. The internal tenon is also phenolic for a little extra strength. It might be hard to see but I live tool my threads & try to make the holes no deeper than necessary. I mock up the assembly while I'm machining it to keep voids to a minimum.
----------

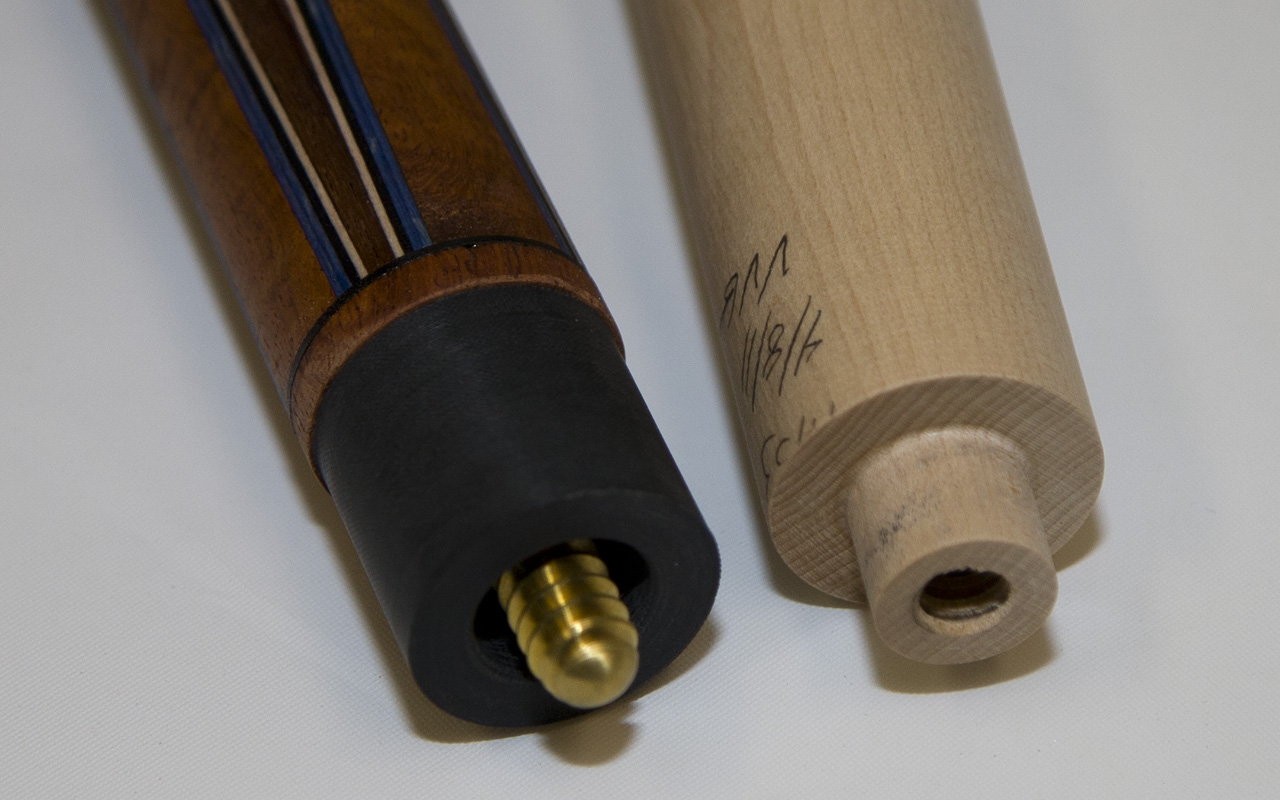
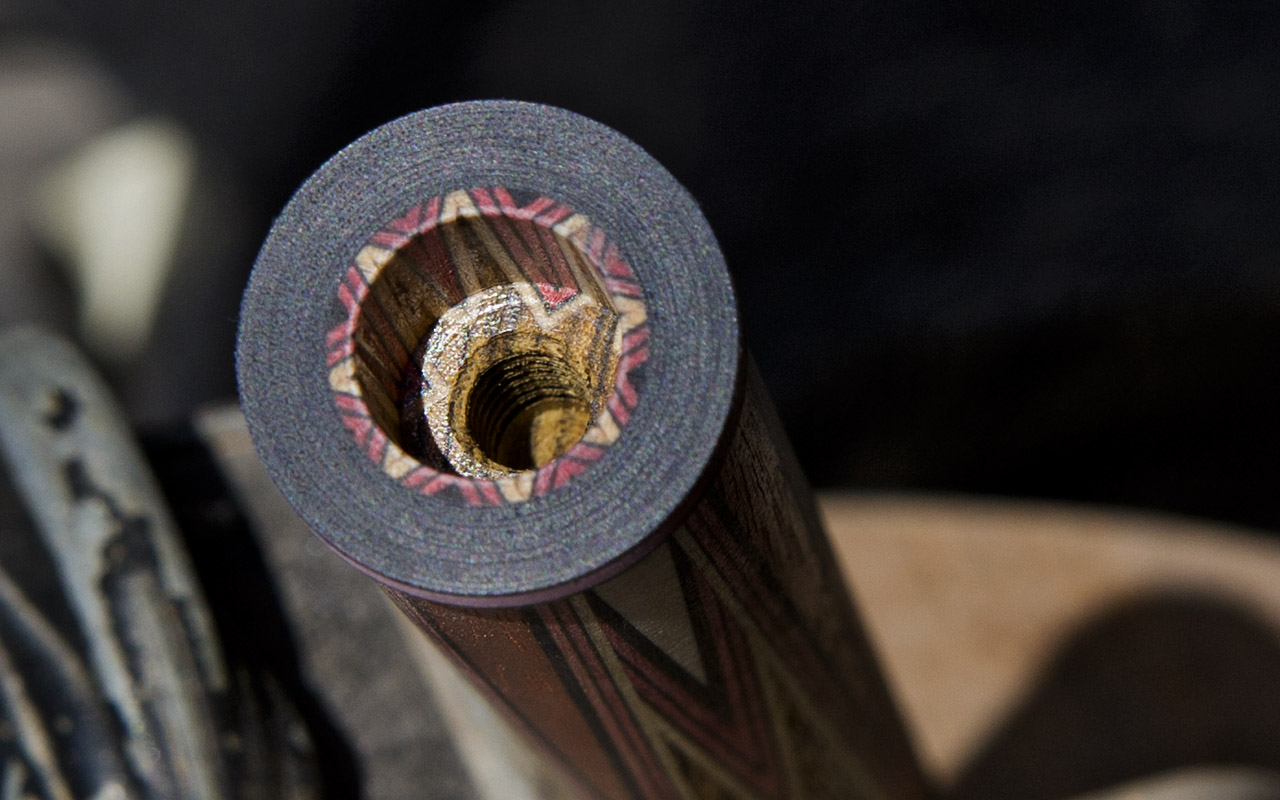
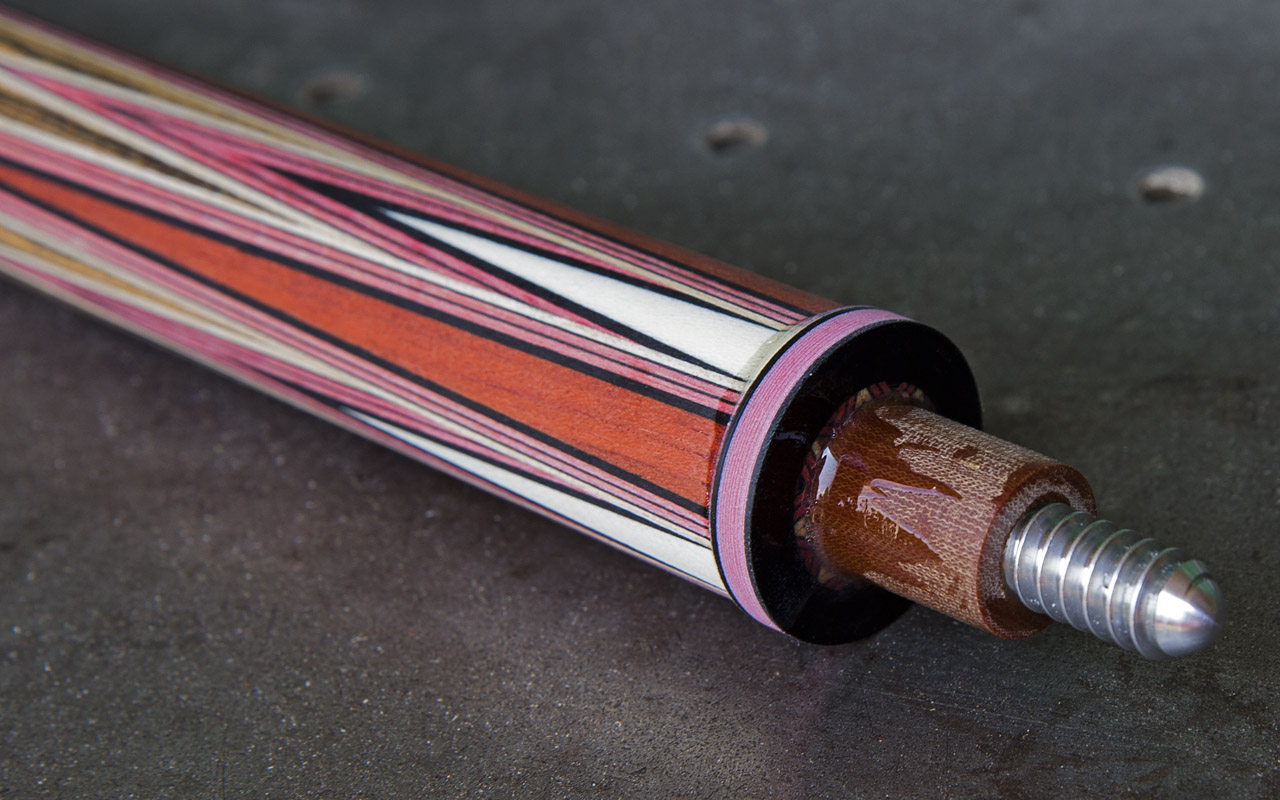
One more that secures the handle & forearm with threads yet uses no metal for those purists who disdain the use of any metal in their cue. They believe that metal disrupts the propagation of the vibratory wave through the wood and insist on non-metallic A-joints, joint pins & bumper retention. No weight bolts allowed, either.
This is very similar to the first method listed except the use of phenolic greatly increases the strength in this area. The lines running the length of the phenolic pin are glue relief grooves - 3 equally spaced around the perimeter.
-----------
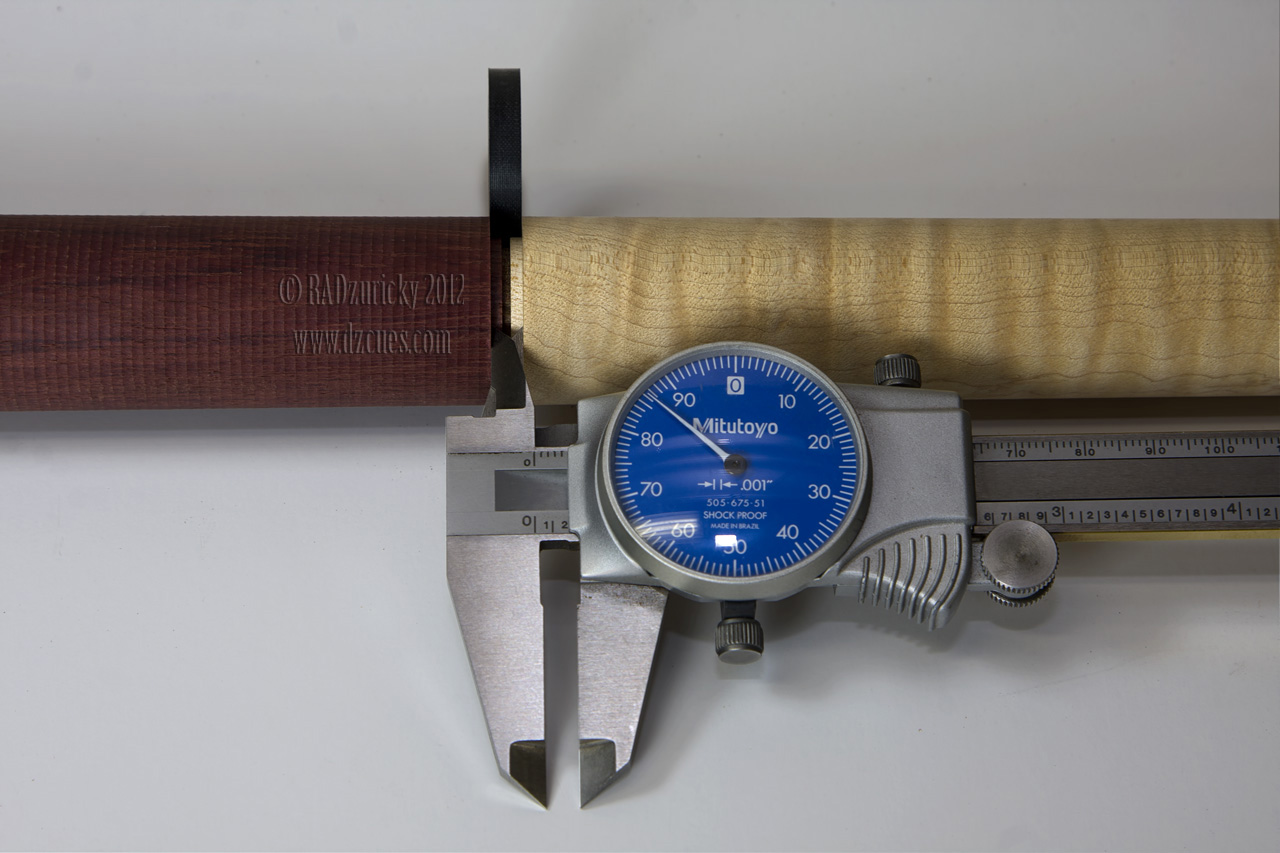
This is a sample of some of the methods I've used over the years. There are others but I don't have pictures of them. Yet. All of these methods work well if they are done accurately & you don't get sloppy. A little extra time spent keeping everything "tight" pays off when the cue spins straight & hits solid. After assembly, you should never see more than .003" or .004" runout at the A joint. That's a good indication that the job was done correctly. See THIS VIDEO as I check the runout in one of the cues shown above.