Cueball Joint Protectors
Making a set of Joint Protectors from an old cueball.
It's a simple matter to make a JP from a cueball. If you want more than one JP, the easiest solution is to make each from a separate cueball. But in the interests of using old cueballs efficiently, it is worth the effort to get all you can from each ball. A customer wanted 2 joint protectors for his 3/8-10 equipped cue & I assumed my method shown above would work, allowing me to get 3 JPs from each cueball. However, the butt JP needs to be 1.200 long to completely protect the joint pin. This increase in ball thickness doesn't leave as large a flat section as when the cueball is cut to 1" thickness. This limits me to only 2 long JPs per cueball. This makes for an easier layout but I used the CNC simply because it was there. The following pictures show my procedure for these simple yet beautiful JPs.
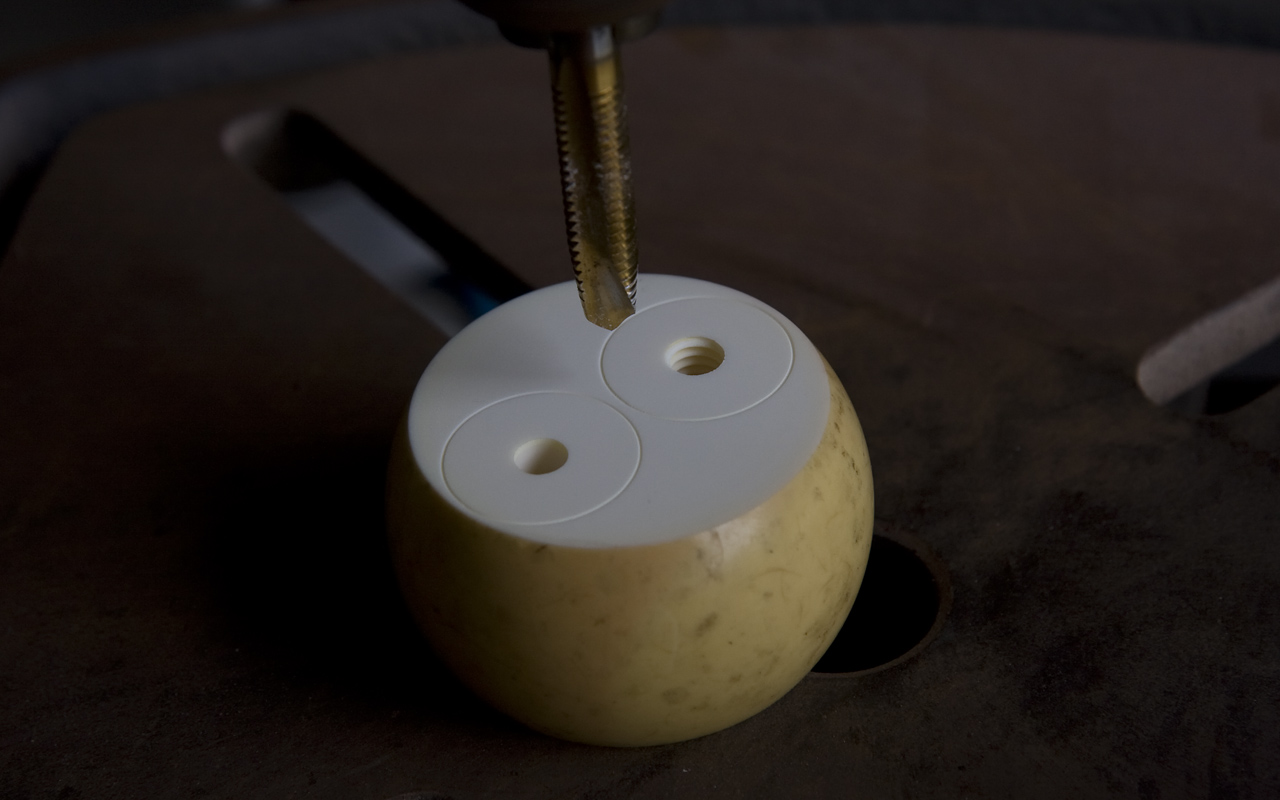
Here is the cueball cut to 1.250" thick with the JP diameters laid out and .250" construction holes added. The construction holes will be tapped 5/16-18 so the JPs can be mounted on a threaded arbor for further machining. As you can see, one hole is tapped already.
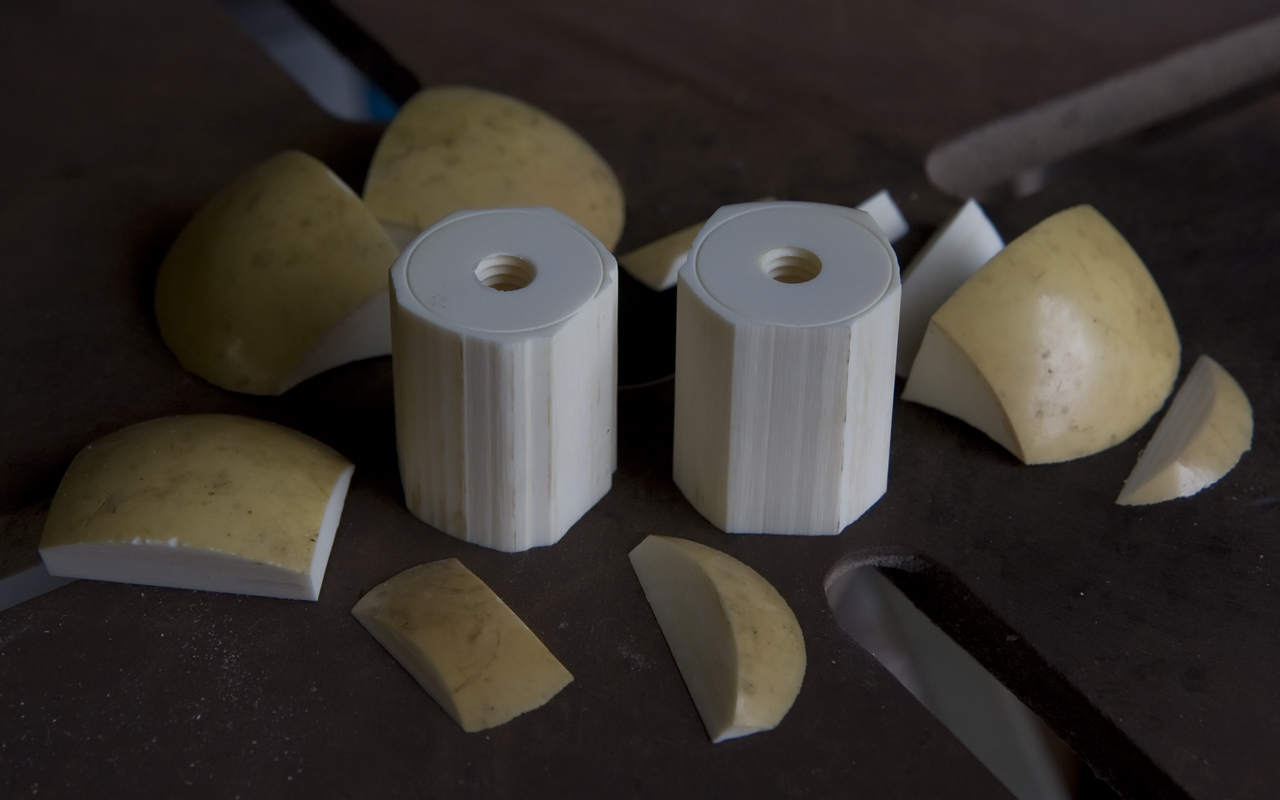
After both holes are tapped, I remove the excess stock on my bandsaw.
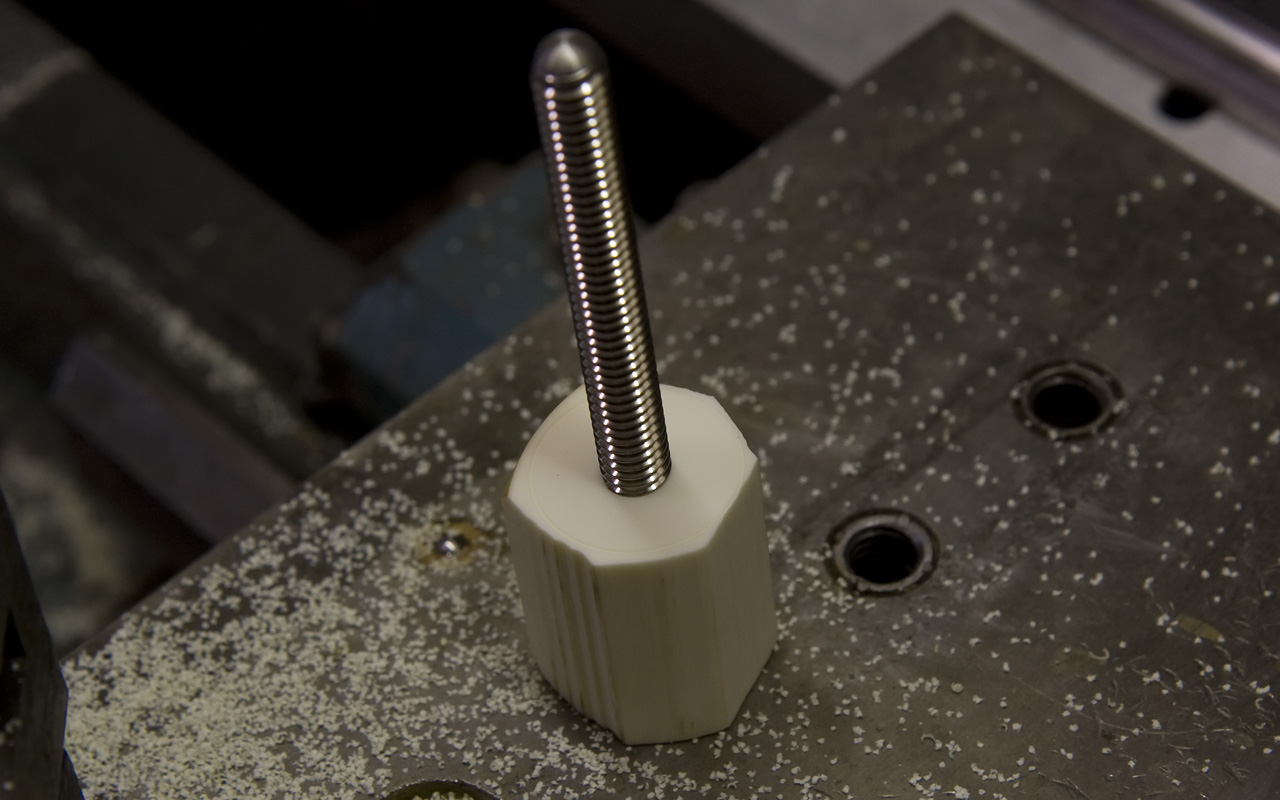
Here you can see the rough JP mounted on the threaded rod.
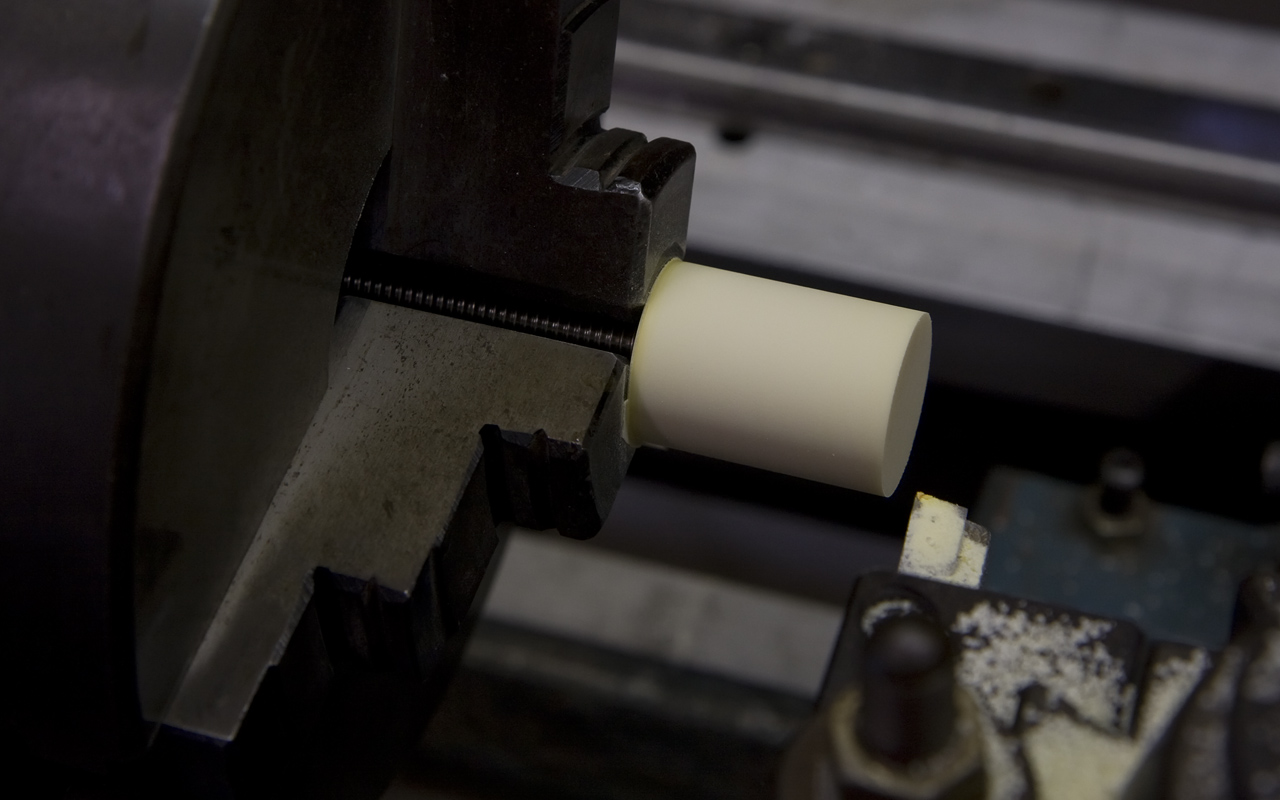
Once in the chuck, it's easy to turn the OD concentric with the 5/16 threads.
Now that there is a reliable outside diameter to work from, I can bore the tapped hole oversize to allow re-tapping 3/8-10. Once that's done, I can mount the JP on a 3/8-10 arbor and finish the diameter & the length in relation to the new threads.
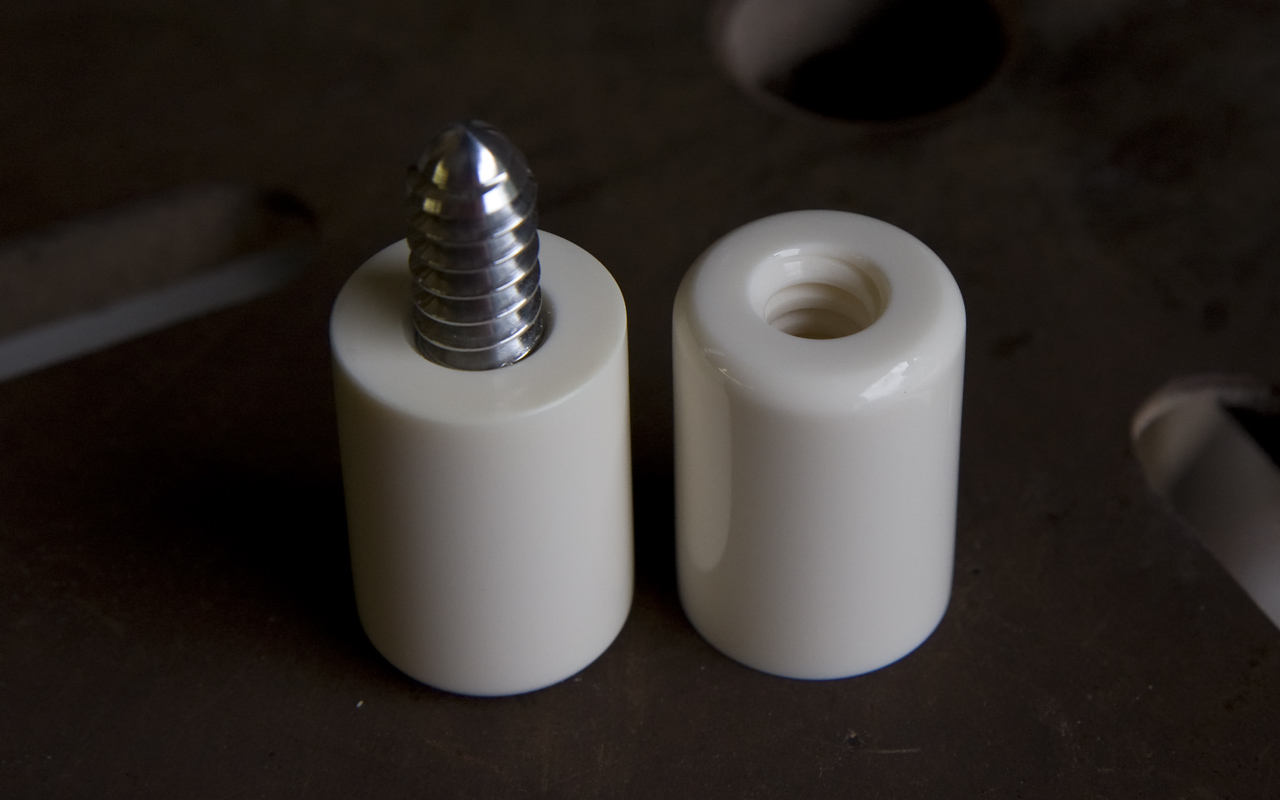
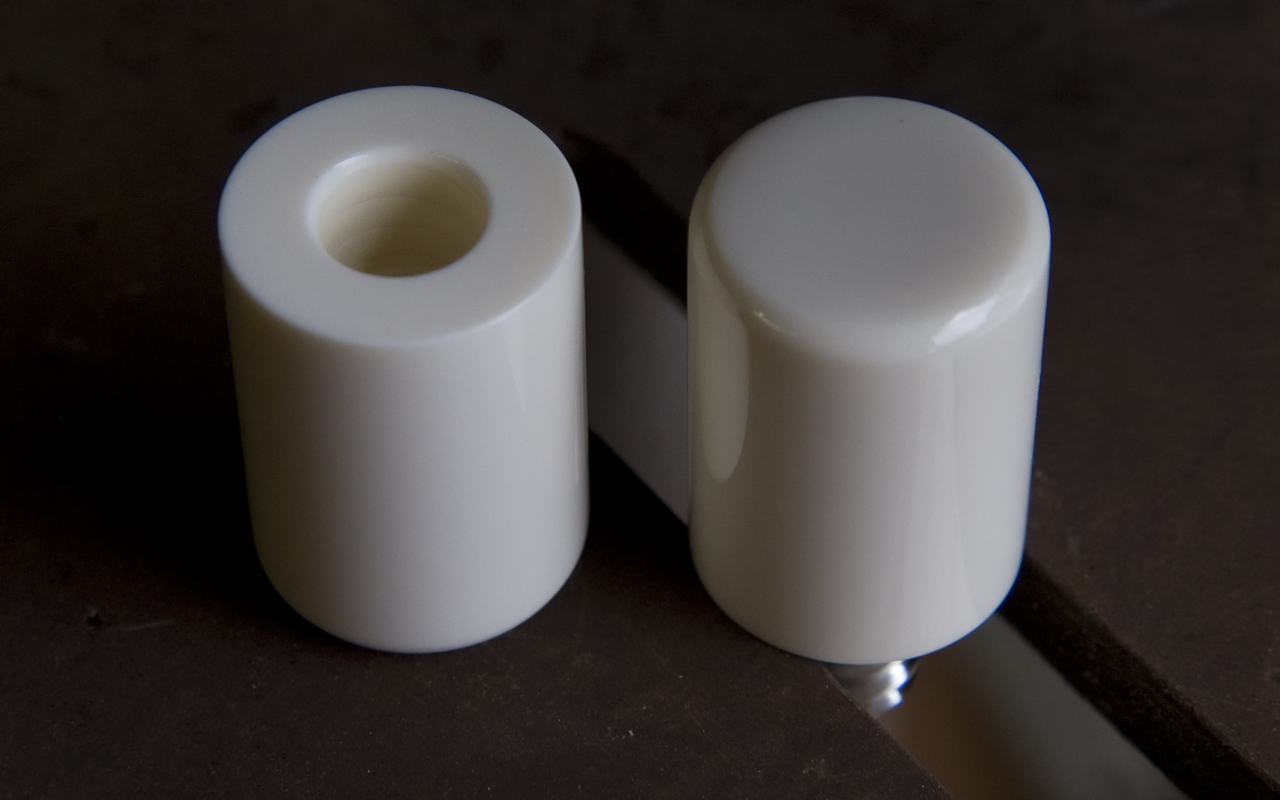
Here are two views of the finished JPs. No finish is needed on them...just some polishing to bring out the shine. Simple & very attractive.
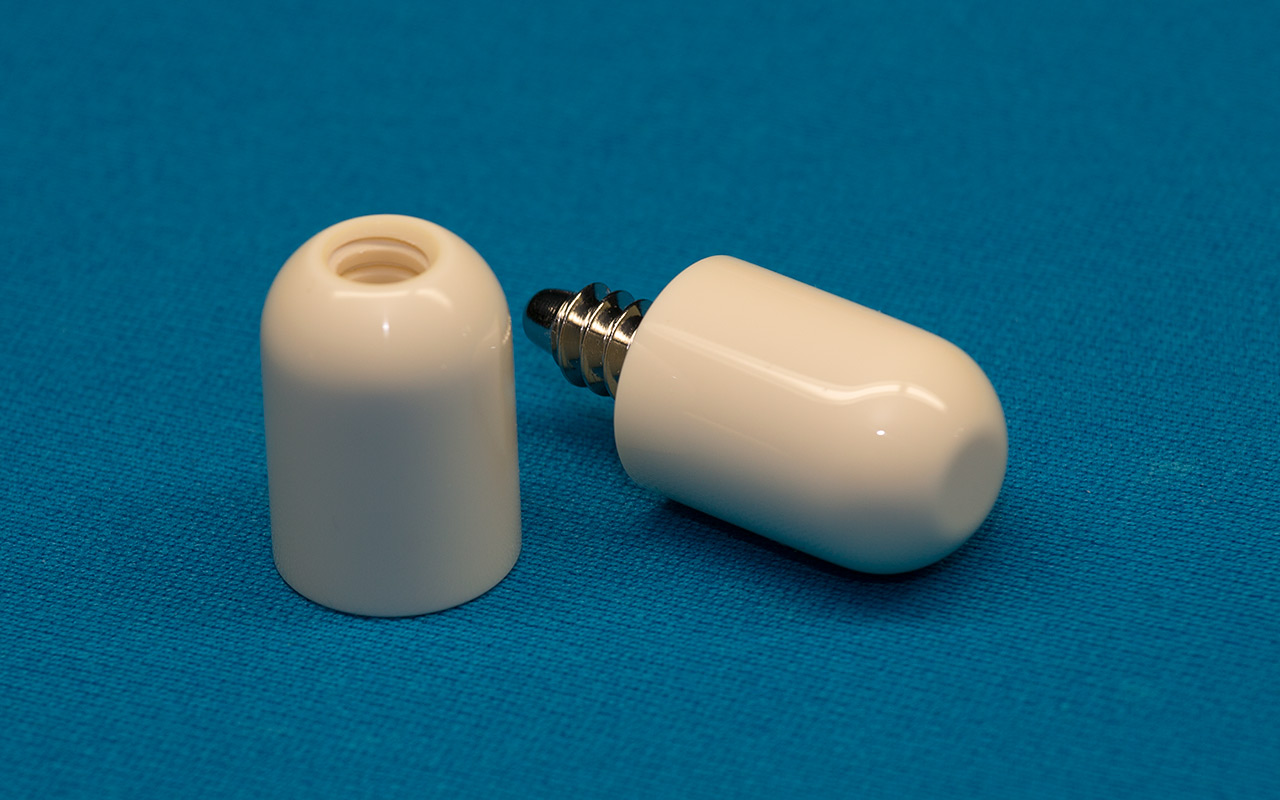
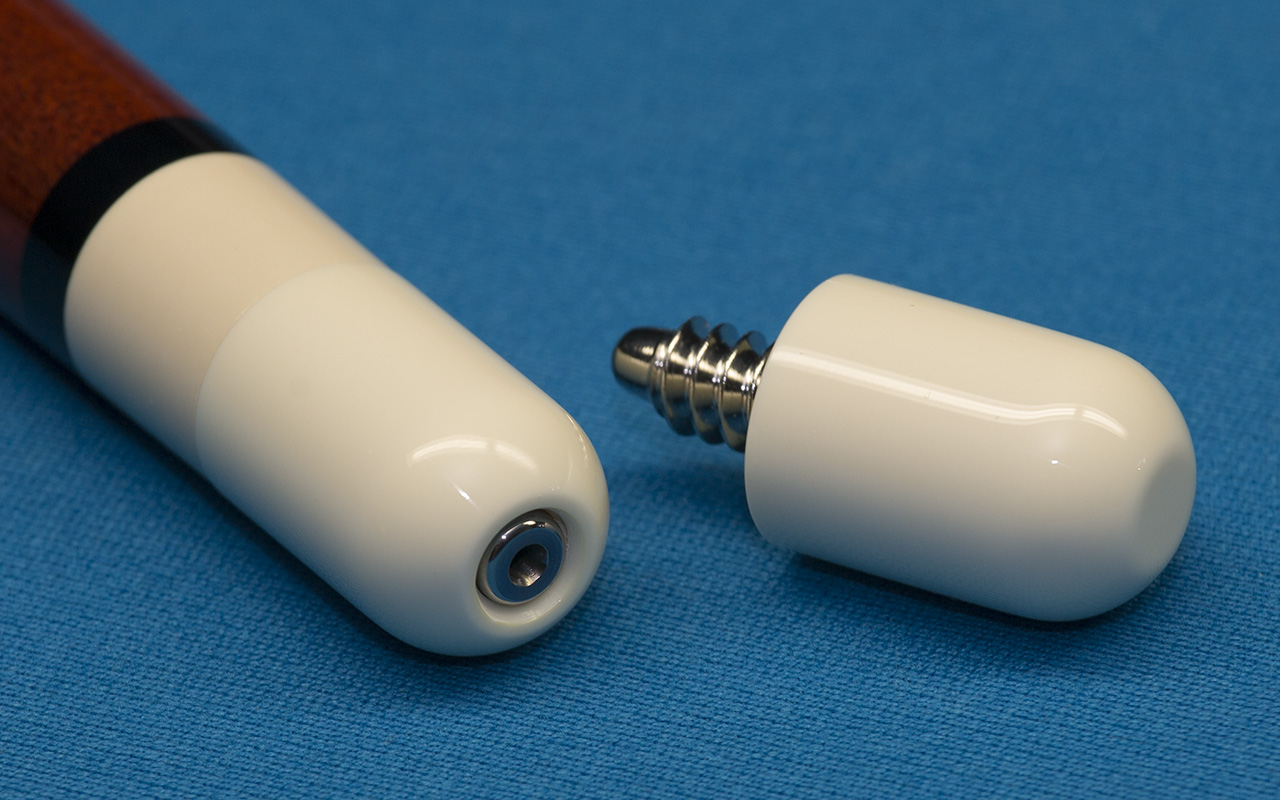
One more set with a different radius and a look at how the joint pin peeks through the butt JP.
And last but not least:
Here is a video showing an updated method of laying out the cueball & threading it with less waste.